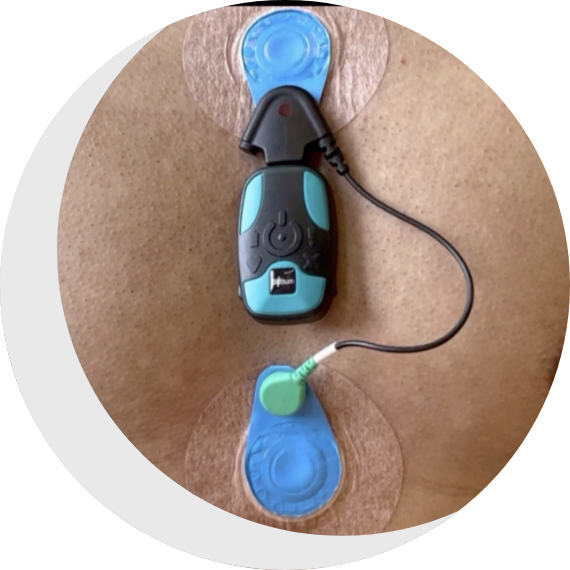
Fitting Instructions

Our fitting instructions provide a concise and user-friendly guide to wearing a Holter heart rate monitor device, ensuring optimal placement and comfort while accurately capturing your heart’s activity throughout the duration of your 72hr monitoring period.

Step one

Prepare the skin

Device location

The monitor should be placed within the centre of the breastbone.

Remove hair

For best results, you may want to remove any hair from the area before attaching the electrodes.

Wash & dry

Wash the skin with non-moisturising soap and water, then dry.

Clean skin

Use the alcohol wipe provided. Then leave to air dry for 2 minutes.

Step two

Prepare the device

Attach device to cable

Ensure the head of the cable is fully inserted into the top of the heart monitor.

Attach to top electrode

Clip the head of the cable to the press stud on the top electrode.

Attach to bottom electrode

Clip the tail of the cable to the press stud on the bottom electrode.

Step three

Fitting the device

Place the electrodes

Remove the white backing from the bottom electrode, including the clear plastic central piece and apply it to the bottom of the breastbone with the electrode positioned in the direction shown. Do the same with the top electrode. Ensure the electrodes are evenly spaced with the device sitting on the breastbone (the device should not overlap or sit on the electrodes).

Starting the device

The heart monitor will automatically start when connected. A green light will flash for 5 seconds before you hear a short bleep.

Are you ready?

Shopping Cart